Texturing
- Finlay
- Nov 29, 2020
- 2 min read
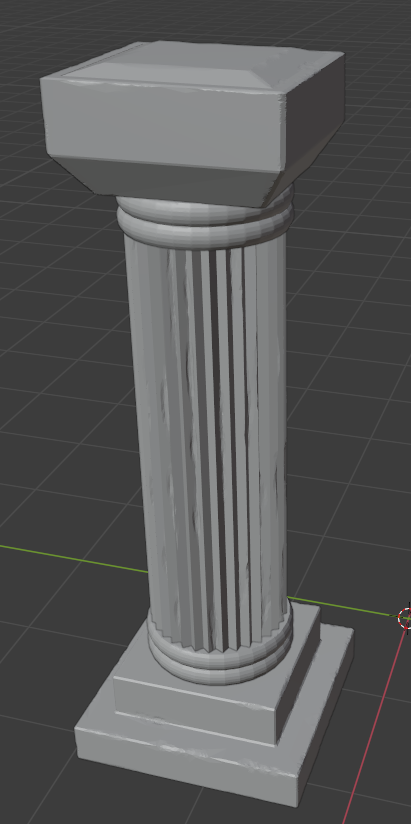
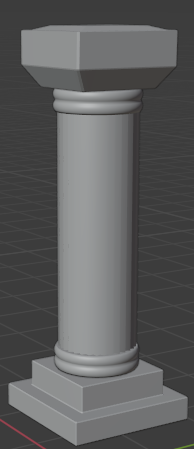
Now that I have my complete models as shown below I am ready to complete the Texture work in Substance painter.
The fist step is to export my models out of Blender and into Substance, to do this I had to click file, then scroll down to export and click the correct file type FBX. I did this twice one for the low poly and one for the high poly that we will bake later.

Now that we have two different file types high and low we are ready to import into substance.
First I created a new project in Substance and filled out the right settings as shown below, then I selected a file, the file I selected is the low poly model. Once I clicked ok the model was imported into Substance.

Here is the low poly model in substance all ready for baking:

Now that the low poly is in substance it was time to bake the high poly detail onto the low poly.
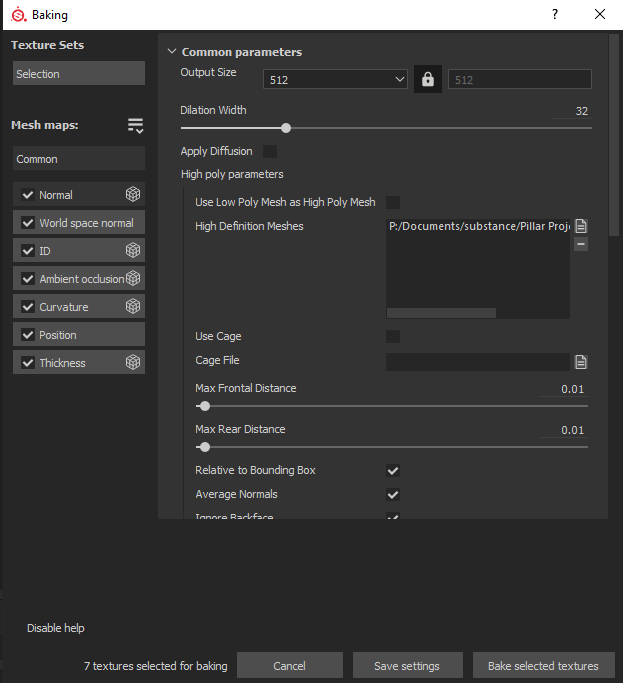
To do this I went to texture settings on the low poly and clicked bake mesh maps.

Once I clicked bake mesh maps I was sent to another screen where I chose my high poly file and baked it onto the low poly.

Now I had successfully baked over the high poly into the low poly here was the result.

As you can see the low poly now has the detail of the high poly but without the high polys large number of polygons making the low poly as detailed as the high poly but with allot less polygons. I did this baking process for all of the parts to my pillar and kept them as individuals as I am creating a asset pack not a complete model. Now all that was left to do is to texture the models.
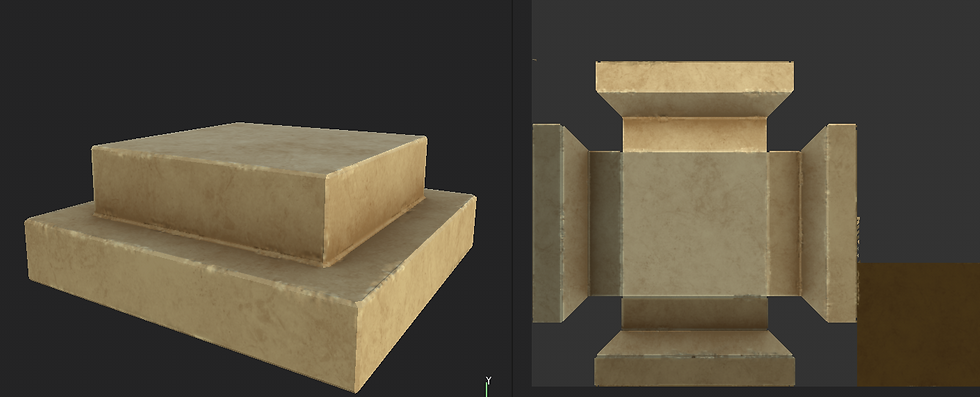
Texturing the models was simple as I had create a texture and all I had to do was add it to the different models. This is what my texture looks like on the model:


Once again I repeated this process for each part and saved them in there own files.
The final step was to get my textured models back into Blender.
The first step was to export the models textures from substance. To do this I clicked file export textures and then I was shown the screen below:

Whilst on this screen I chose a location to save the textures and then I clicked export.
Now that I had successfully exported the models textures I simply dragged and dropped the files into the shading tab in Blender and then saved them in the blender file. This was done for all parts of the pillar Top, Middle and Bottom.

Now I had the textures in blender I just selected the part of the model that I was texturing and then I dragged each texture type into a script and saved. Once the nodes in the script were attached then the blender model became textured.

Once all of the pieces to the model were successfully texture and organised I had a finished model that was ready for implementation in a engine. The completed pillar is shown below in a beauty render.


Comments